How to Color Grade Your Alight Motion Videos in CapCut for Professional Results
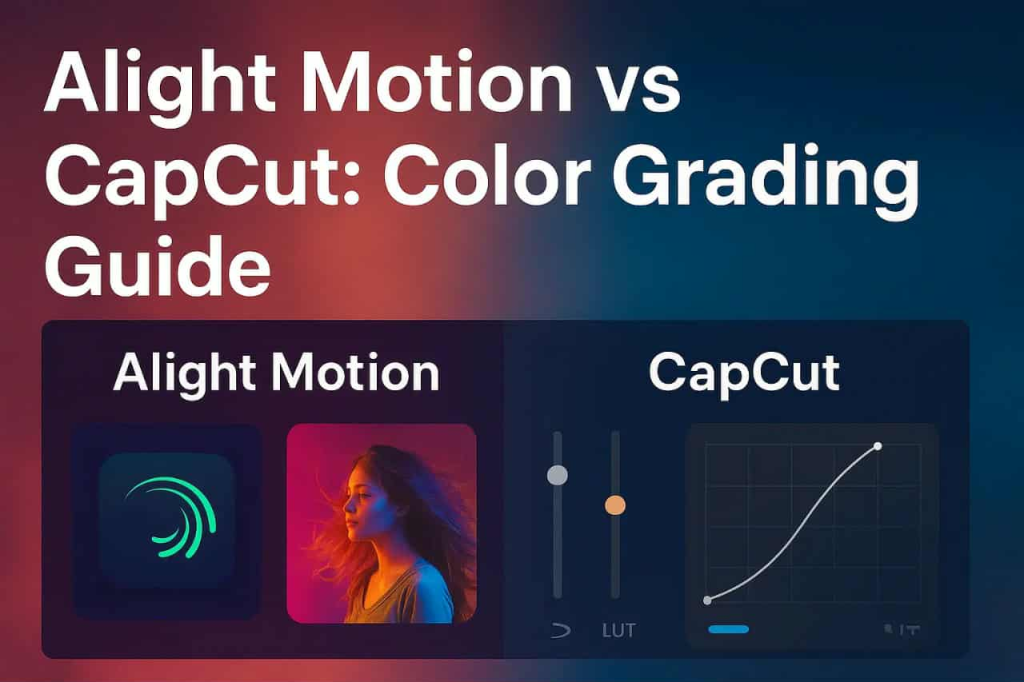
Color grading can completely transform your Alight Motion videos by adding depth, mood, and a professional finish. While Alight Motion APK is great for creating animations and effects, CapCut offers advanced tools for refining the final look. The simplest way to color grade your Alight Motion videos is to export your clips and use CapCut’s color correction features like curves, filters, and LUTs. These tools help you adjust tones, highlights, and shadows with precision, creating a cinematic and consistent appearance.
Color grading is more than making a video look “cool.” It’s about maintaining balance and storytelling through colors. With CapCut, you can easily enhance brightness, contrast, and saturation to bring your footage to life. By combining Alight Motion’s animation power with CapCut’s color tools, you can achieve results that look professional without needing expensive software.
Preparing Your Video for Color Grading
Before jumping into color grading, it’s important to prepare your Alight Motion video properly. Export your project using the highest quality settings to maintain color details. Choose the maximum resolution and frame rate available preferably full HD (1080p) or higher. Avoid exporting with low bitrate because it compresses the colors and creates unwanted artifacts. Save your video locally instead of using cloud apps, as compression during upload can lower the quality.
For file format, MP4 (H.264 codec) works best for most users because it’s compatible with CapCut. However, if you want less compression and better color depth, export in MOV with the ProRes codec. It creates larger files but preserves quality better. The higher the bitrate and resolution, the more room you’ll have for color correction later.
Importing Videos into CapCut
After exporting from Alight Motion, open CapCut on your phone or computer. Tap the “+” sign to create a new project, then select your exported video from the gallery. CapCut supports MP4 and MOV formats, so your file should import smoothly. Once added to the timeline, you’re ready to start color grading.
CapCut’s interface is simple and intuitive, making it easy to adjust brightness, contrast, and saturation. Before editing, make sure your video plays smoothly in the preview. This helps you see real-time changes as you tweak the color settings.
For a detailed comparison, check out Alight Motion vs CapCut.
Understanding CapCut’s Color Tools
CapCut apk offers several tools that make color grading accessible, even for beginners. You can use basic sliders or advanced filters depending on your style.
- Brightness: Controls how light or dark the entire video looks.
- Contrast: Adjusts the difference between light and dark areas for more visual depth.
- Saturation: Changes how vibrant or dull colors appear.
- Temperature: Adds warmth (yellow/orange) or cool tones (blue).
Start by fixing exposure and contrast to ensure your footage isn’t too bright or flat. Then, tweak saturation and temperature for a natural tone.
CapCut also provides filters for quick results. Each filter applies a different color tone some look cinematic, others vintage or moody. You can adjust the filter intensity for better control. For precision edits, use HSL (Hue, Saturation, Lightness) controls to change individual color ranges, which helps highlight specific parts of your video like skin tones or backgrounds.
Using LUTs in CapCut
LUTs (Look-Up Tables) are powerful tools for achieving a professional color grade in one click. They’re essentially color profiles that instantly transform your footage. CapCut supports importing LUTs, which means you can apply cinematic or stylized looks with minimal effort.
To use a LUT, import it into CapCut and apply it to your clip. Adjust the strength to avoid overdoing it. LUTs are useful when you want a specific mood, like warm sunset tones or cool cinematic blues. They also help match colors across different clips, creating a consistent style throughout your video.
Step-by-Step Color Grading in CapCut
- Adjust Exposure and Contrast:
Start with exposure to control brightness. Raise it slightly to reveal details in dark areas but avoid overexposing bright parts. Then, increase contrast to make highlights pop and shadows deeper. These two adjustments form the foundation of your grade. - Fine-Tune Saturation and Vibrance:
Increase saturation carefully to make colors vivid, but keep them realistic. Over-saturated videos can look cartoonish. Vibrance is a smarter control; it boosts muted colors while protecting natural tones like skin. Balancing these two gives your video a lively yet natural appearance. - Refine Shadows and Highlights:
Shadows control the darker areas. Brighten them to show detail or darken for mood. Highlights affect the brightest spots, lowering them prevents overexposure. These small tweaks help balance lighting and create cinematic contrast. - Apply LUTs or Filters:
Once the base corrections are done, apply a LUT or filter to stylize your footage. Adjust intensity to blend naturally with your edits. Always preview the result on multiple clips to ensure consistency.
Keeping Color Consistent
One of the hardest parts of color grading is maintaining a consistent look across multiple scenes. Lighting conditions can change, so you’ll need to match clips carefully. Use the same LUT or preset for all clips, and make small corrections using white balance and exposure.
To make this easier, save your favorite settings as presets in CapCut. This way, you can apply the same tone to future projects without redoing everything. It saves time and keeps your videos visually cohesive.
Exporting Your Final Video
After grading, it’s time to export your video. Choose MP4 with H.264 codec for a good balance between quality and file size. Keep the resolution and frame rate the same as your original footage to avoid distortion.
For 1080p videos, set the bitrate between 8–12 Mbps. This ensures crisp details and smooth color transitions without making the file too large.
Once exported, you can upload directly to YouTube, TikTok, or Instagram. If you plan further editing, export a high-quality version with minimal compression. Avoid sending videos through apps that reduce quality, as they may ruin your color grading work.
Final Thoughts
Color grading in CapCut is a simple yet effective way to elevate your Alight Motion APK videos. By understanding basic adjustments like brightness, contrast, and saturation, and using LUTs for style, you can achieve results that look professional and cinematic.
The key is subtlety. Small, precise adjustments always look more natural than extreme changes. With practice, you’ll develop your own color style that fits your videos perfectly. Whether you’re editing for YouTube, reels, or short films, mastering CapCut’s color tools will give your Alight Motion videos a polished, professional finish.