How to Add Keyframes in CapCut (Mobile, PC)?

If you’ve ever watched a slick transition or a smooth motion effect in a video and thought, “How do they do that?”—chances are, keyframes were involved. For editors and creators, especially those working on social platforms like TikTok, Instagram Reels, or YouTube Shorts, learning how to control movement, scale, and timing is no longer optional—it’s essential.
But here’s the truth: a lot of beginners open CapCut expecting magic and leave frustrated. Why? Because static edits don’t grab attention anymore. Audiences scroll fast, and if your video doesn’t “move” within the first few seconds—both visually and emotionally—you’ve already lost them.
This is where keyframes come in. They’re not just a tool; they’re your control panel for creativity. From animating text to zooming into a dramatic reaction, keyframes give your edit a heartbeat. And yes, while the concept sounds technical, mastering it in CapCut is much more approachable than you think—if you know where to look and what to do.
I’ve spent over six years in the editing world, juggling both high-end commercial projects and fast-paced mobile content. I know what keeps audiences watching—and what makes them swipe away. This blog isn’t just a tutorial; it’s a practical guide rooted in real experience, written for creators who want results without wasting hours on trial and error.
Let’s be honest: most “how-to” guides online either assume you know too much or explain too little. That’s not helpful—and it’s exactly why you’re here. You need clear, actionable guidance that respects your time and actually solves the problem. So, that’s what we’re doing here.
What Are Keyframe Animations?
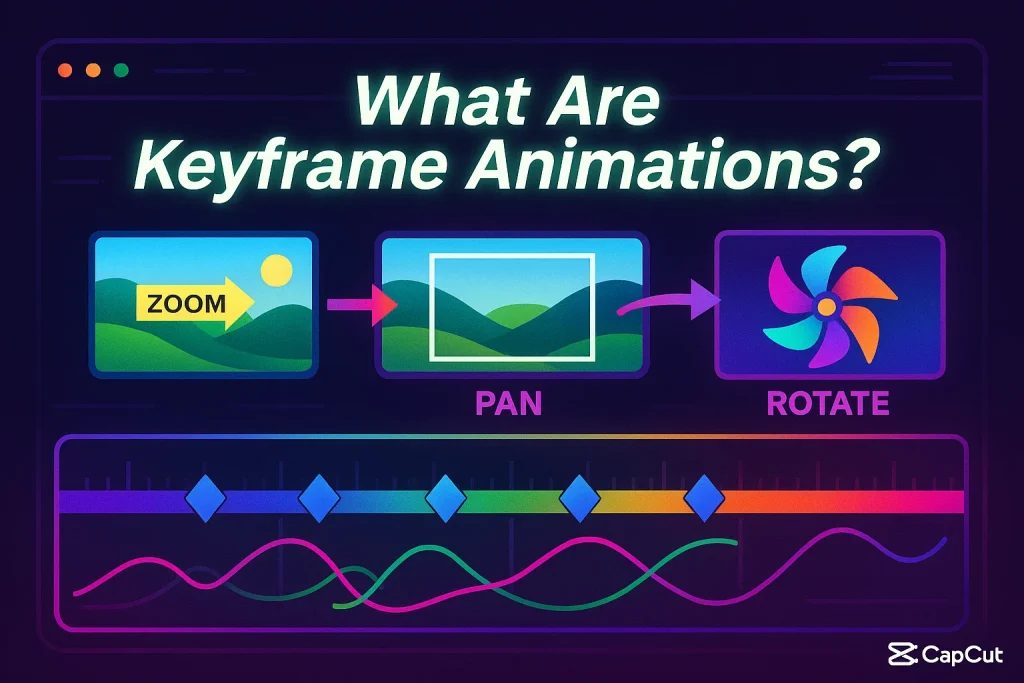
Keyframe animations are the secret behind movement in video editing. Think of them as invisible markers you place on your clip to tell it, “Start here, end there, and do it smoothly.” Whether you want to zoom into a face, move text across the screen, or create smooth transitions, keyframes are the tool that makes it happen.
Now, I get it—“animation” might sound like something only pro editors or motion designers deal with. But trust me, as someone who’s edited everything from client ads to viral Reels, keyframes are not some advanced technique reserved for the elite. They’re simple, smart, and incredibly effective once you know how to use them.
The beauty of keyframe animation is control. Instead of relying on preset effects that look like everyone else’s, you get to define exactly how and when things move. Want your text to glide in slowly, then bounce off screen? You decide the path. Need an image to rotate while it grows in size? You’re in charge. That’s the creative freedom keyframes give you.
And here’s the real value: in today’s short-form video world, attention spans are brutal. Static content gets ignored. Viewers crave movement, rhythm, and intentional design. Keyframe animations help you deliver all of that—without needing fancy gear or expensive software.
- Download CapCut for Android
- Download CapCut for PC
- Download CapCut for Mac
- Download CapCut Old Versions
How to Add Keyframes in CapCut Mobile App
Let’s be real—editing on a phone doesn’t mean your content should feel “basic.” In fact, some of the most viral videos out there were made entirely on mobile. If you’re using the CapCut mobile app, adding keyframes is your ticket to turning simple clips into scroll-stopping visuals. And no, it’s not complicated—just underused by most.
As someone who’s been editing videos for six years (both mobile and desktop), I can confidently say this: once you start using keyframes in CapCut, you’ll never go back to static edits.
Here’s how to do it—step by step:
Step 1: Import Your Clip
Open the CapCut app and start a new project. Tap “+” to import the video or image you want to animate. This could be anything—from a vlog clip to a product shot.
Step 2: Choose What You Want to Animate
Decide what needs movement. It could be your main video layer, a text overlay, an image, or even a sticker. Tap on that layer to select it.
Step 3: Find the Keyframe Button
Now move the timeline to the point where you want your animation to begin. At the bottom, tap the diamond-shaped icon—this is your keyframe button. You’ve just added your first keyframe!
Step 4: Make a Change
Move the playhead forward a bit. Now adjust something—zoom in, reposition, rotate, tilt, or resize. CapCut will automatically set a new keyframe at that moment, capturing the change.
Step 5: Preview the Motion
Scrub through the clip to preview the animation. You’ll see how the element moves from your first keyframe to the next. If it looks off, you can easily adjust the position or timing by tapping and editing each keyframe.
Step 6: Stack More Keyframes (Optional)
Want more complex motion? Keep adding keyframes as needed to build layered animations. For example, zoom in slowly, then slide to the left, then fade out—all in one sequence.
How to Add Keyframes in CapCut PC App
Editing on desktop brings a different kind of precision—and CapCut for PC makes it surprisingly seamless, even for creators who are just starting out. If you’ve been used to mobile editing, the desktop version opens up more screen space, smoother controls, and faster workflow.
But one thing that stays just as powerful—and just as underutilized—is the keyframe tool.
Having spent years editing both client projects and content for platforms like YouTube and Instagram, I can tell you this: if your video lacks intentional motion, it risks blending into the noise. Keyframes give you the control to stand out—whether you’re creating ads, tutorials, or cinematic reels.
Here’s how to add keyframes in the CapCut PC app, step by step:
Step 1: Launch CapCut PC & Create a New Project
Open the CapCut desktop app and click “New Project.” Import your video or image files using the media panel. Drag them onto the timeline.
Step 2: Select the Clip You Want to Animate
Click on the video, text, or image layer you want to apply keyframes to. Make sure it’s highlighted in the timeline.
Step 3: Open the Keyframe Controls
In the preview panel or properties sidebar, you’ll find transform options like position, scale, rotation, and opacity. Move your playhead to the starting point, and next to these properties, click the diamond-shaped keyframe icon to set your first keyframe.
Step 4: Make Your Edits
Move the playhead forward on the timeline, then adjust the property you want to animate—like zooming in or shifting the position. A second keyframe will be added automatically, creating a smooth transition from point A to point B.
Step 5: Stack or Adjust Keyframes
Want to add more movement? Keep moving the playhead and making changes. You can click on individual keyframes to delete or reposition them if your timing feels off.
Step 6: Preview & Fine-Tune
Use the spacebar to play back your animation. If it looks too fast, drag the keyframes further apart. If it’s too slow, pull them closer together. Tweak until it feels smooth and natural.
Pro Tip: Don’t Stop at Just Keyframes
While you’re here, explore tools like Chroma Key to remove green screens and Noise Reduction to clean up poor-quality audio. These features, when combined with keyframes, can elevate your mobile edits significantly.
Wrapping Up
The difference between an average edit and a standout video often comes down to one thing: movement with purpose. And that’s exactly what keyframes offer—creative control. Whether you’re editing a trending Reel, a client project, or your next YouTube intro, adding keyframe animation in CapCut can instantly elevate your content.
From my six years of editing experience, both professionally and personally, I’ve seen this pattern repeat: once creators learn how to use keyframes effectively, their videos not only look better—they perform better. Why? Because movement grabs attention. It creates emotion. It keeps viewers watching longer.
And the best part? CapCut makes it easy—whether you’re working on your phone or PC. You don’t need expensive software or a film degree. You just need the willingness to learn the tools that help your story stand out.
As you move forward with your edits, keep exploring. Play with features like chroma key, noise reduction, transitions, and speed ramping. Compare tools like CapCut vs InShot or even test CapCut alternatives—but always come back to this: keyframes are a game-changer.