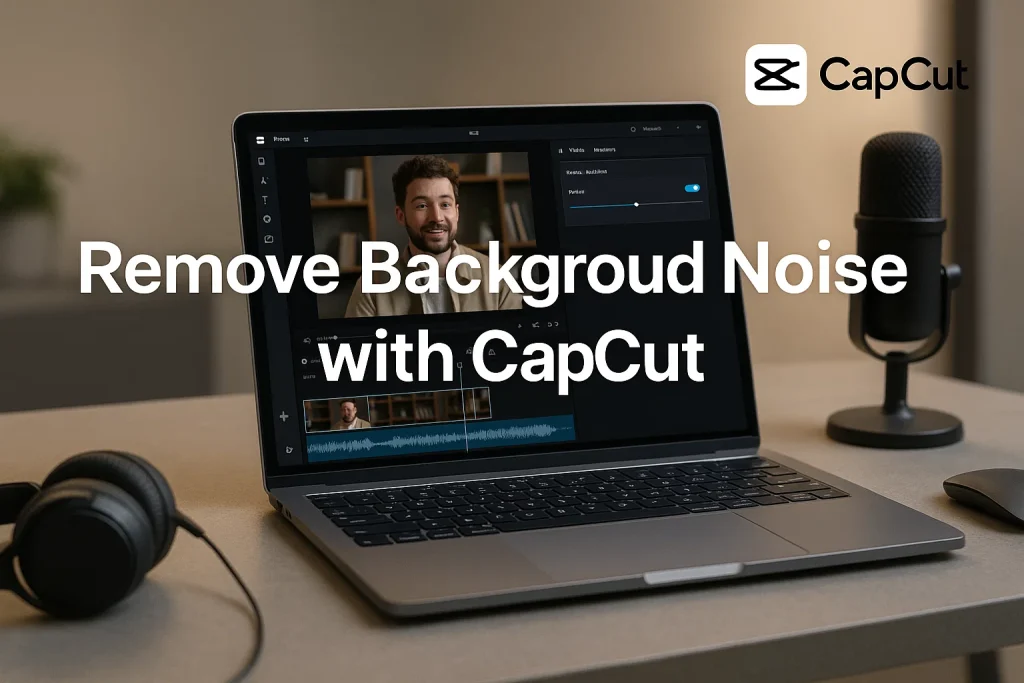
How to Remove Background Noise on CapCut?
In today’s digital world, creating high-quality video content has become essential for personal brands, businesses, and influencers alike. But while visuals often take the spotlight, audio quality can make or break your video’s impact. If you’ve ever recorded a video, only to find it filled with distracting background noise, you know how frustrating it can be. That background hum, chatter, or sudden interruptions can pull your audience’s focus away from the message you’re trying to convey.
Removing background noise isn’t just about cleaner audio; it’s about enhancing the viewing experience. Clear, crisp sound keeps viewers engaged and helps your content resonate. Whether you’re working on a YouTube video, a vlog, or a professional presentation, audio is as important as the visuals. Think of it this way: A video with excellent sound quality feels more polished and professional, building trust with your audience and keeping them hooked.
If you’re serious about content creation, having the tools to clean up your audio quickly and efficiently is a game-changer. CapCut offers a simple yet powerful solution to remove those unwanted noises that distract from your message, allowing you to focus on what really matters: delivering your content seamlessly and professionally. Let’s dive into why removing background noise is so crucial and how you can do it easily without needing to be a sound engineer.
What is CapCut?
When it comes to video editing, finding a tool that’s both user-friendly and powerful enough to meet your needs can feel like searching for a needle in a haystack. That’s where CapCut comes in. This mobile video editor has gained massive popularity, especially among content creators who want to produce professional-level videos without the need for complex software or high-end equipment. Whether you’re a budding influencer, a small business owner, or just someone passionate about creating quality content, CapCut offers a seamless, efficient editing experience right at your fingertips.
One of the key reasons users flock to CapCut is its ability to simplify the editing process. It takes the hassle out of video creation, offering a wide range of features like transitions, filters, and the ability to remove background noise. But here’s the thing: With CapCut’s free version, you can get most of the basics done, but many creators seek more advanced tools for seamless editing. That’s where CapCut Mod APK comes into play, offering extra perks like unlocked features, premium filters, and extended capabilities that elevate your video editing game even further.
The beauty of using CapCut, especially the modded version, is its versatility and ease of use. Whether you’re working on a TikTok video, an Instagram reel, or a YouTube project, the app allows you to polish your content quickly, leaving you more time to focus on what matters—connecting with your audience. In a world where attention spans are short, keeping your videos crisp, professional, and free from distractions is more important than ever. And by using CapCut to its fullest potential, you’re not just editing—you’re ensuring that every piece of content you create leaves a lasting impression.
How to Remove Background Noise in CapCut
Removing background noise from your video is a crucial step in ensuring your content is clear and professional. In this detailed guide, I’ll walk you through how to easily remove unwanted noise using CapCut, step by step, ensuring that your audio shines and your viewers stay engaged.
Step 1: Import Your Video
First, open CapCut on your mobile device or tablet and start a new project. Import the video that has the background noise you want to remove. You can do this by tapping the “+” button and selecting your video file from your gallery or cloud storage.
Step 2: Select the Audio Track
Once your video is imported, it’s time to focus on the audio. Tap on the audio track of your video. This will highlight the audio portion, allowing you to edit it separately from the video.
Step 3: Access the Audio Editing Tools
Now, navigate to the audio editing section. You’ll find an option labeled “Audio” in the lower menu bar. Tap on it, and you’ll see a variety of audio enhancement options available. For noise reduction, we’re looking for a feature called “Noise Reduction.”
Step 4: Enable Noise Reduction
In the “Audio” section, select the “Noise Reduction” feature. This will automatically reduce unwanted background noise. CapCut uses a smart algorithm that isolates the primary audio track (usually your voice or main sounds) from the surrounding noise.
Step 5: Adjust the Intensity
After enabling noise reduction, you can fine-tune the intensity of the effect. You’ll see a slider that allows you to increase or decrease the level of noise removal. If the noise is mild, a lower setting may be enough, but for louder, more persistent noise, you might need to slide it toward a higher setting.
Make sure to preview your video frequently during this step to ensure you don’t remove too much of the background sound that you want to keep (like music or ambient noise). The goal is to strike a balance where the noise is minimized without affecting the quality of the primary audio.
Step 6: Fine-Tune the Audio
If you still find that the audio isn’t quite perfect, you can adjust other settings. Tap on “Volume” to adjust the overall audio levels, making sure the main audio doesn’t get drowned out by the background noise reduction.
You can also experiment with the “Equalizer” feature to fine-tune the audio even further. The equalizer allows you to boost or cut specific frequencies, which can help reduce the prominence of any remaining unwanted sounds.
Step 7: Preview Your Changes
Now, it’s time to listen to your video and assess how it sounds. Tap the play button to preview the audio and make sure the background noise has been effectively reduced without compromising the clarity of your main audio. This is a crucial step, as it ensures the final product sounds polished.
Step 8: Export Your Video
Once you’re satisfied with the results, it’s time to export your video. Tap the export button in the upper-right corner of the screen. CapCut will process the video with the noise reduction applied, and you’ll be ready to share it with your audience!
By following these simple steps, you can easily remove background noise from your videos using CapCut. The tool’s noise reduction feature helps you achieve professional-sounding results quickly, without needing any advanced technical knowledge. Whether you’re editing a vlog, tutorial, or a promotional video, CapCut ensures that your audio quality matches your video’s high standards.
Also Read:
- How to Reverse a Video in CapCut (Mobile, PC)Like a Pro
- How to Make Money with CapCut in 2025
- How to Use Green Screen in CapCut?
Conclusion
In today’s fast-paced digital landscape, audio quality can make all the difference in keeping your audience engaged. With CapCut’s easy-to-use noise reduction feature, you can ensure that your videos have crystal-clear sound without the distractions of background noise. By following the simple steps outlined in this guide, you’ll be able to produce polished, professional-quality videos that stand out. Whether you’re an aspiring content creator or a seasoned pro, CapCut provides an efficient, powerful solution for improving your audio without the need for complex software or expensive equipment.
Remember, your content isn’t just about what you show, but also about what you say and how clearly it comes across. So, don’t let background noise detract from your message—take full advantage of CapCut’s tools and elevate your content to the next level. Happy editing!